Portainer has full support for communications with container image registry providers, including DockerHub (authenticated and anonymous), Azure Container Registry, Quay.io, ProGet, GitLab, AWS ECR, and pretty much every other Docker Registry v2 API registry provider.
But how do you use AWS ECR within Portainer? Let me show you.
We will start at step zero, creating the credentials in AWS Console (you can skip this if you already have valid creds)
Login to the AWS Management Console as an Admin User, go into IAM and 'Create a group'

Give the group a name, such as ECR_Admin
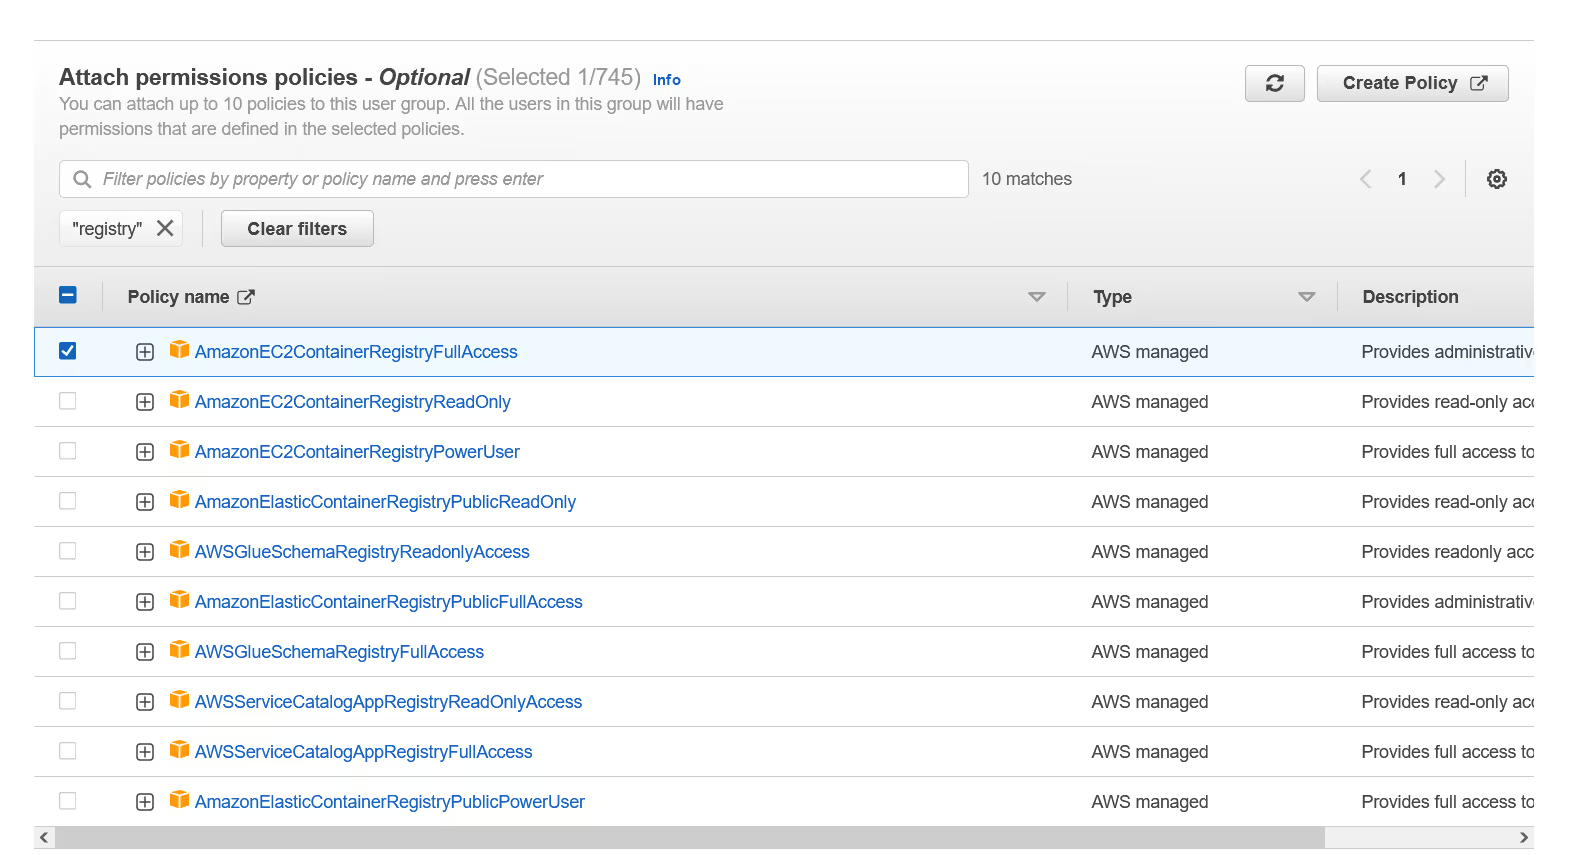
Scroll down to "Attach permissions policies" and assign the permission "AmazonEC2ContainerRegistryFullAccess", then click "Create Group"
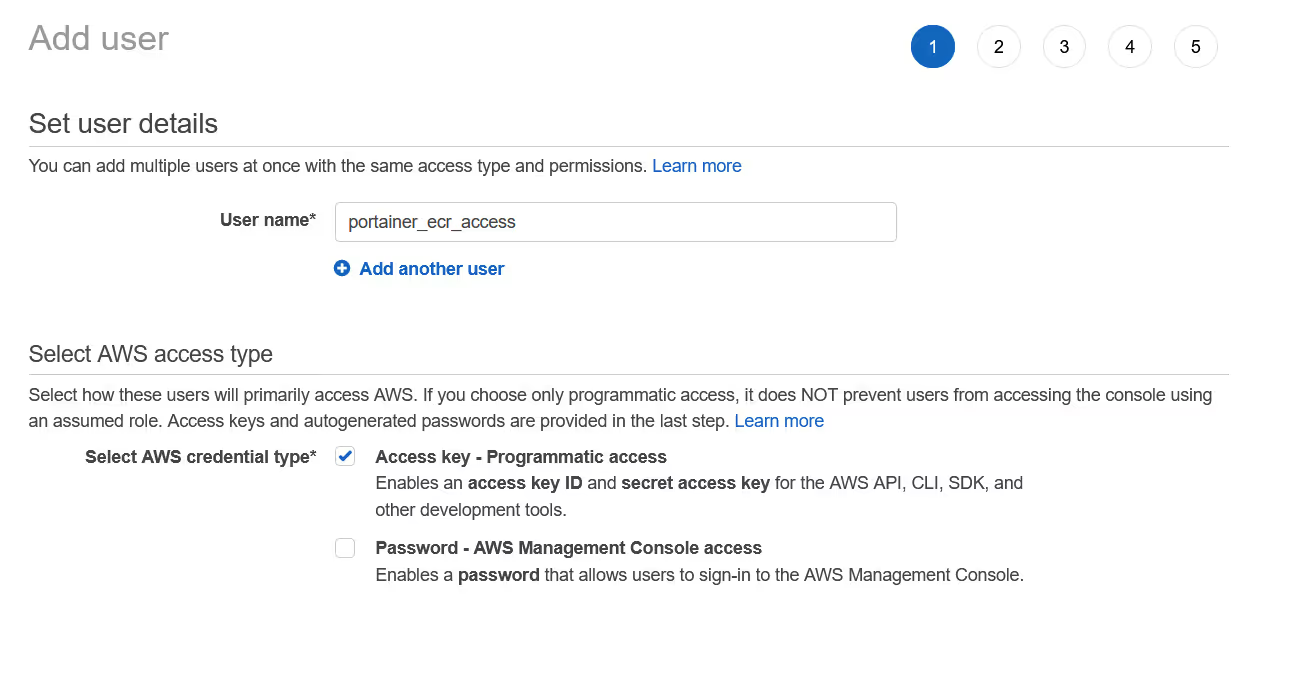
Because Portainer's access to ECR cannot be based off a user with MFA enabled, you should create a specific user for this purpose. In the IAM console, click "Users" and then "Add Users".

Give the user a meaningful name, such as "portainer_registry_access", and set the credential type to "Access Key - Programmatic Access"
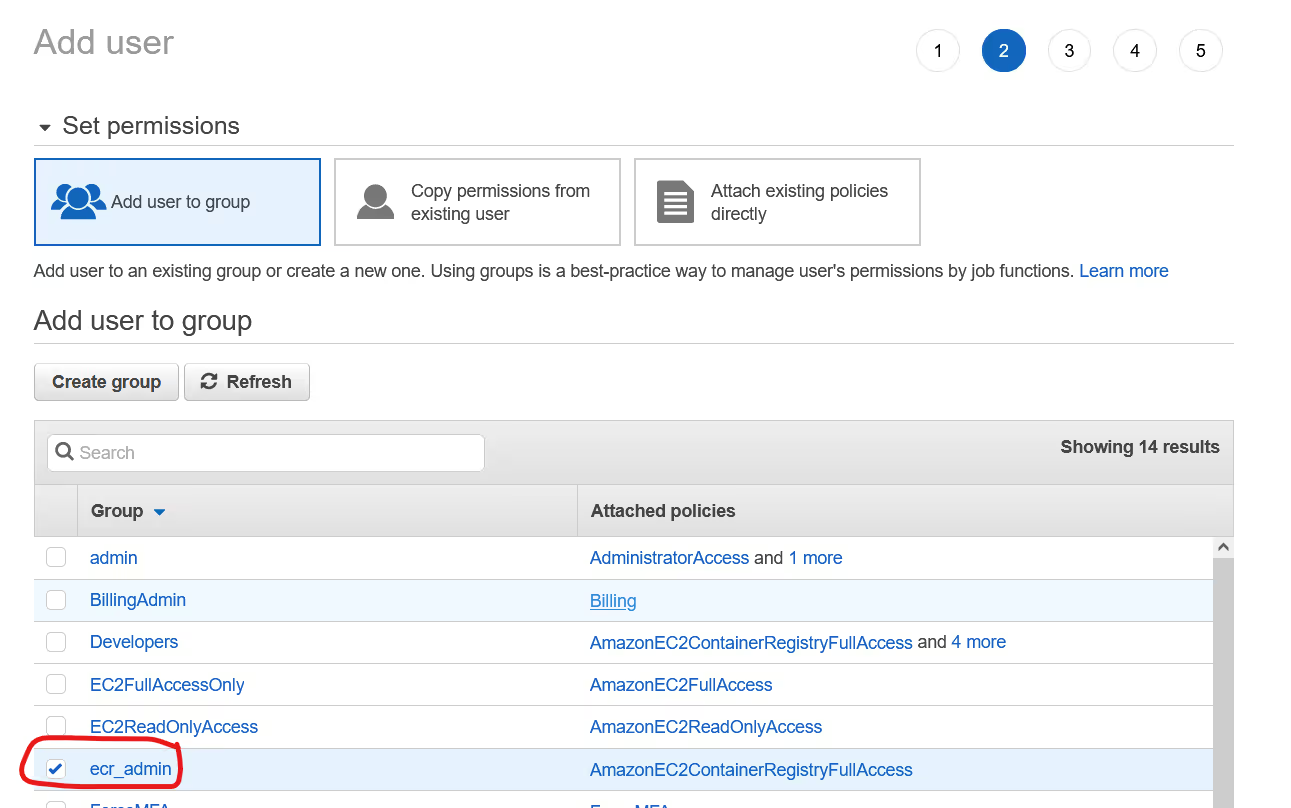
Add the user to the group you created, in my case, ecr_admin, then complete the creation of the user (no need for any other settings)
Take a note of the credentials provided, you will need these inside Portainer.

Next open the ECR page on AWS so we can create our first ECR Repository.

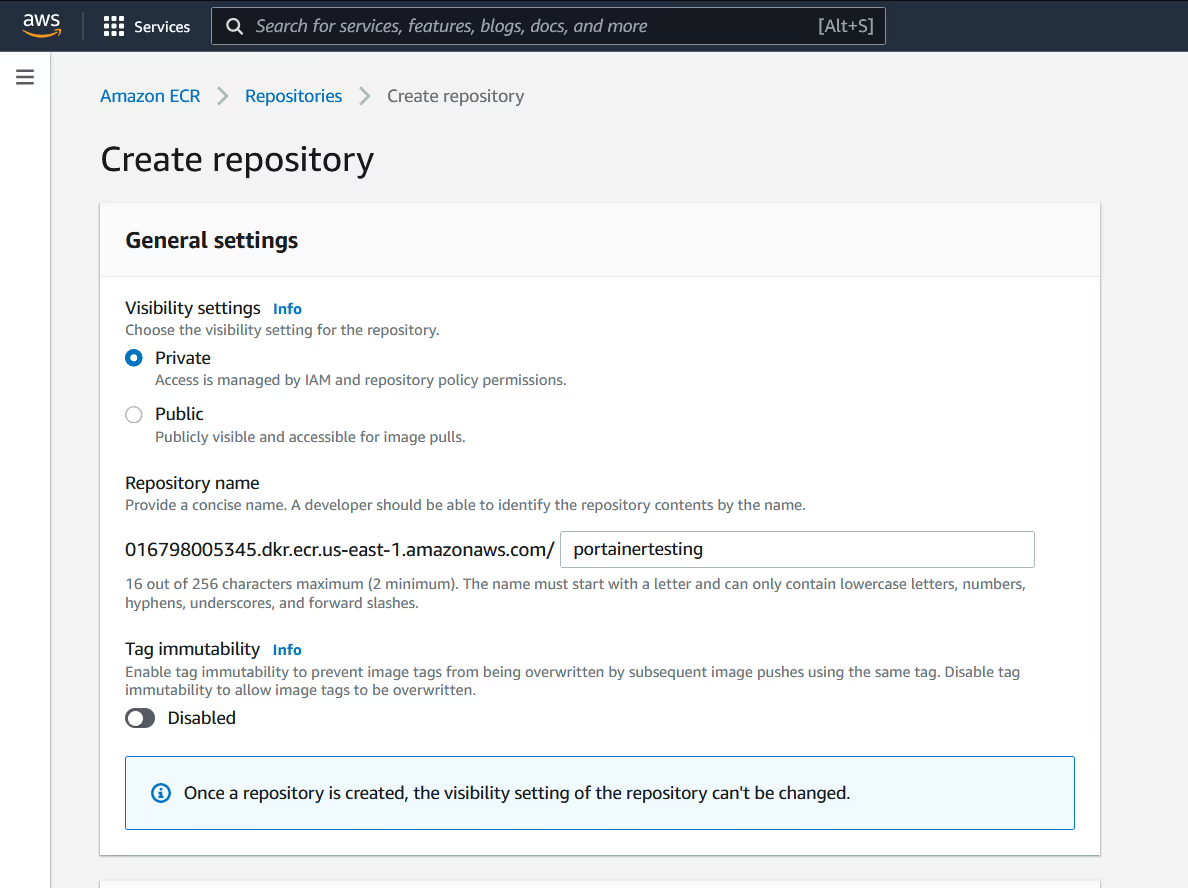
ECR will generate a FQDN for your private registry, but you need to create the specific repository you want to use. Note that unlike other registry providers, ECR requires you to pre-create ALL repos before you can push to them (or the push will fail). For this example, we will use "portainertesting" as our repository.
Take a note of the URL, we will need that later. Click "create" to complete.
You should now see your repository.

Ok, now switch to Portainer.
As an admin user, click on "Registries" in the sidebar, and then click "Add Registry"
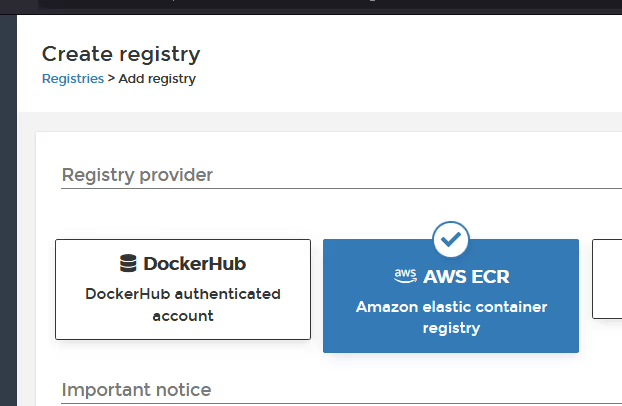
Choose "AWS ECR" as the registry type.
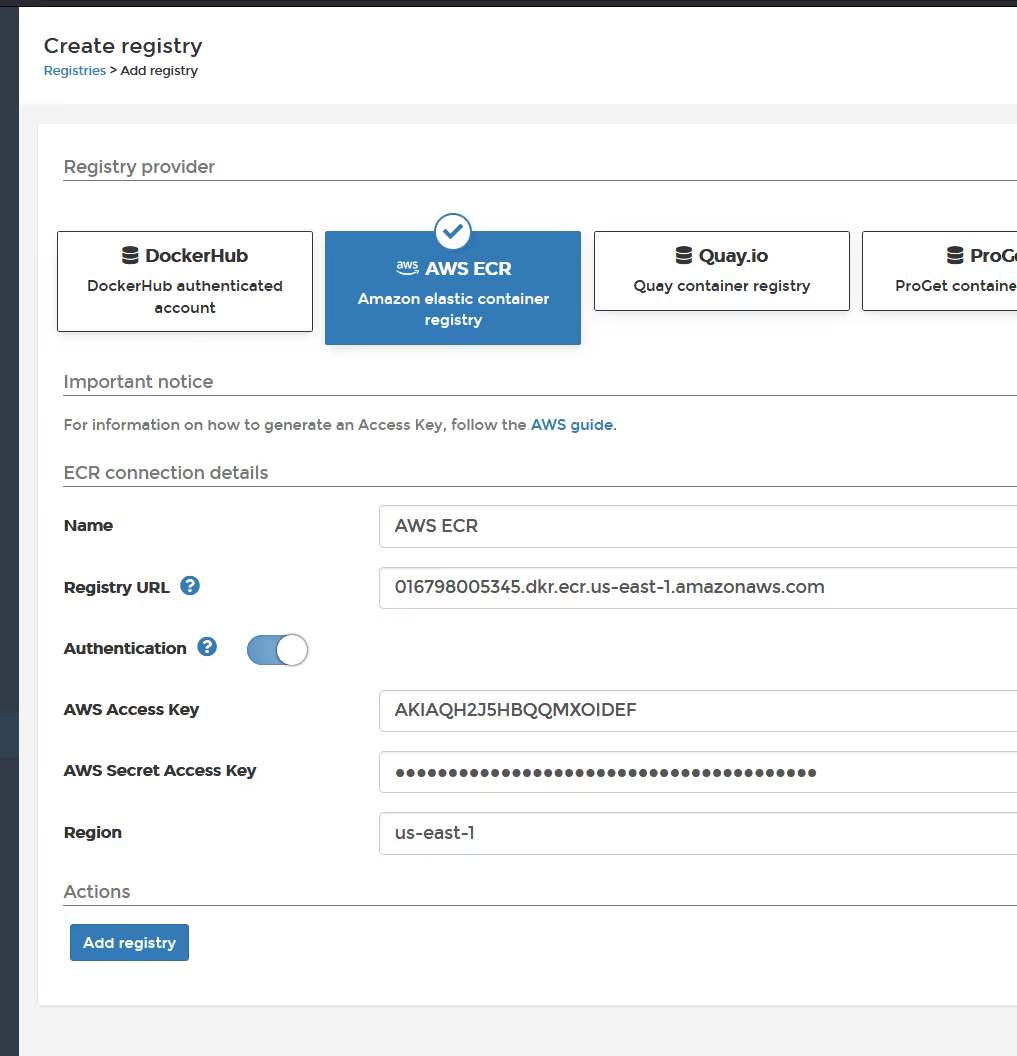
Complete the details using the information previously captured. Note that registry URL is just the FQDN, it does not include the repository. Make sure to add your correct region. Click "add registry"
It's worth noting, that after adding this information, Portainer will automatically (in the background) keep regenerating an AWS session key/token, so as to ensure the authentication continues to work beyond the initial 12 hour session validity. You do not need to do anything but add these credentials, Portainer handles the rest.
If you are using Portainer Business Edition, you can verify commuications, by clicking the "browse" button.

At the moment, the registry doesn't have anything in it, so as long as your see "No repository available" you are good to go (no red warnings).

Ok, so let's push an image to the repo.
After selecting a Docker Environment (Note, this ONLY works with Docker, as Kubernetes has no native way to push images to a Repo), click on "images" in the left sidebar, then find the image you want to push, and tag it with the AWS registry. In my case, I'm just using the NGINX image.
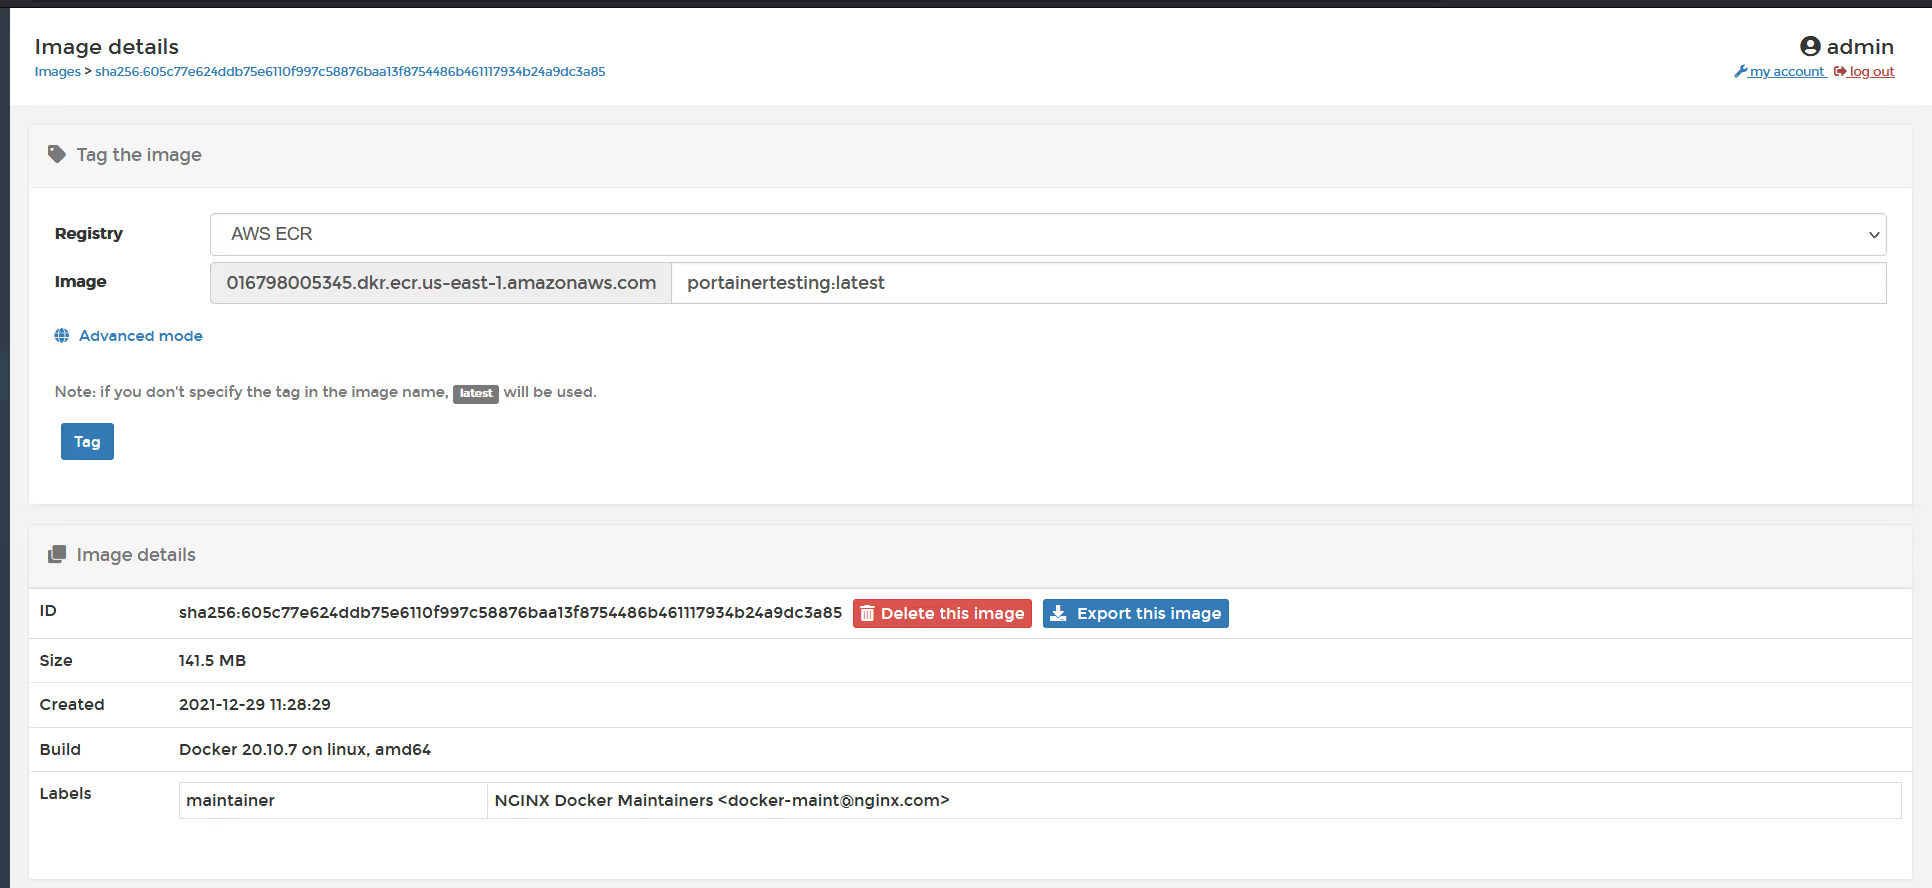
Once you have added the repository name and tag, click the "tag" button, and then click the "up" arrow to push to the registry.

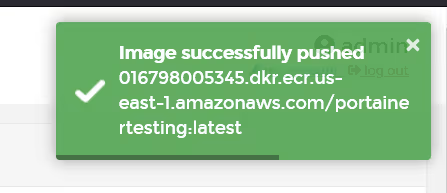
Once the push is completed, you should see a green success indicator.
OK, so now go back to the registries page, and browse again (assuming business edition), or use the AWS ECR UI to see inside the registry to validate the image was pushed.

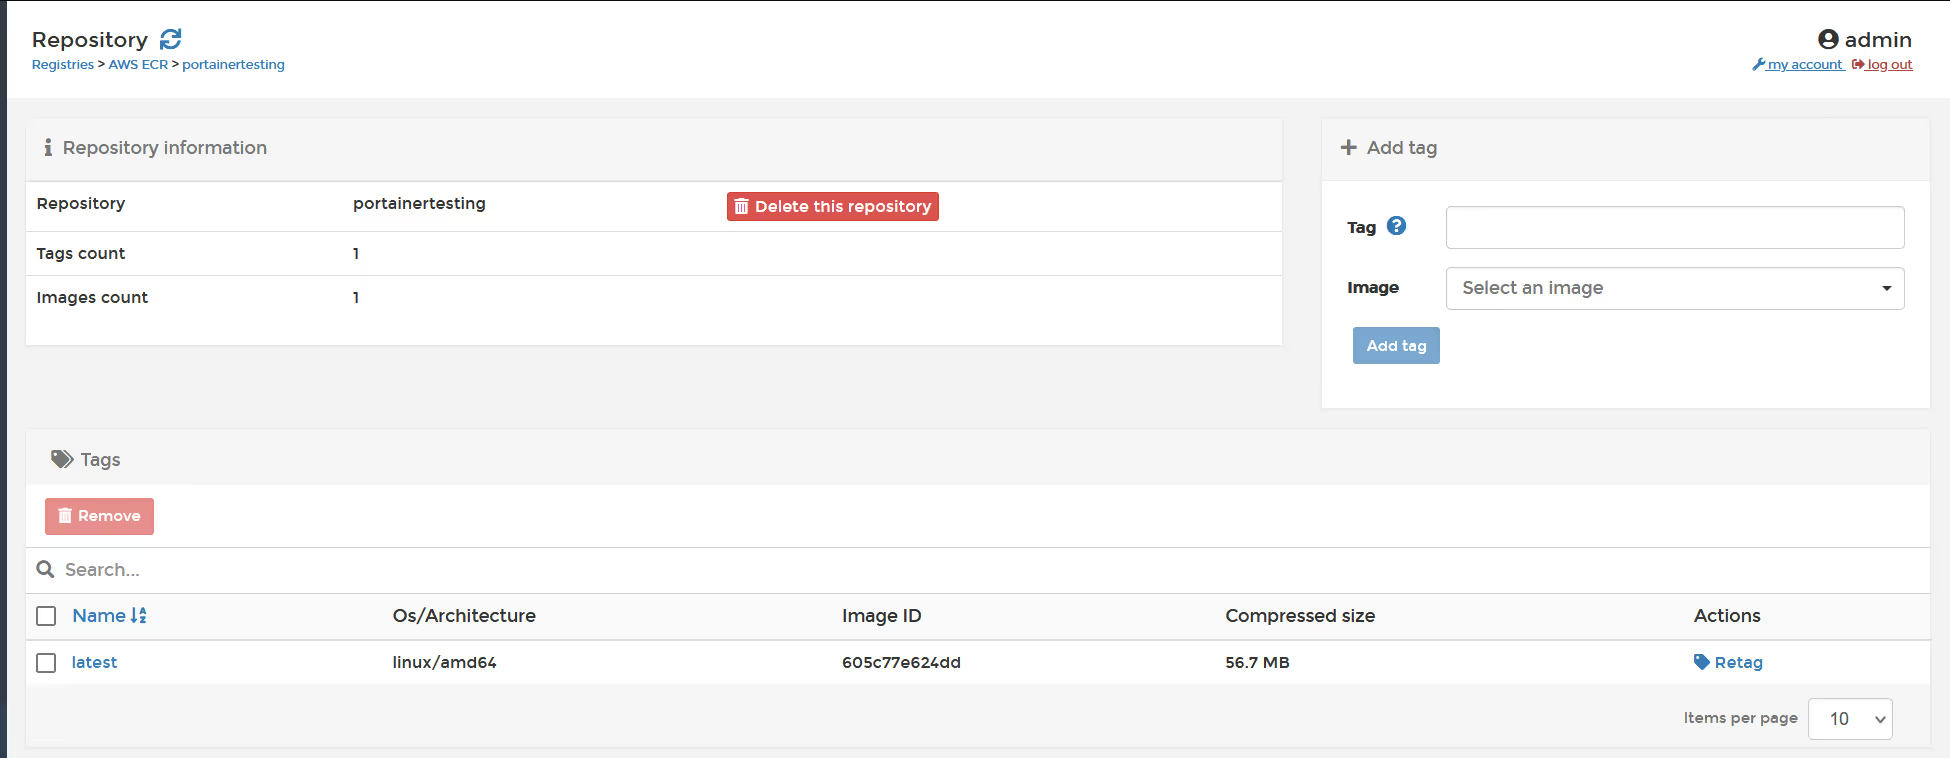

OK, so the image is successfully in the Repo.
So now how do we use it?
Easy, if you are deploying a container using a Docker environment, you simply change the registry when you are in the create screen, and enter the repository and tag.
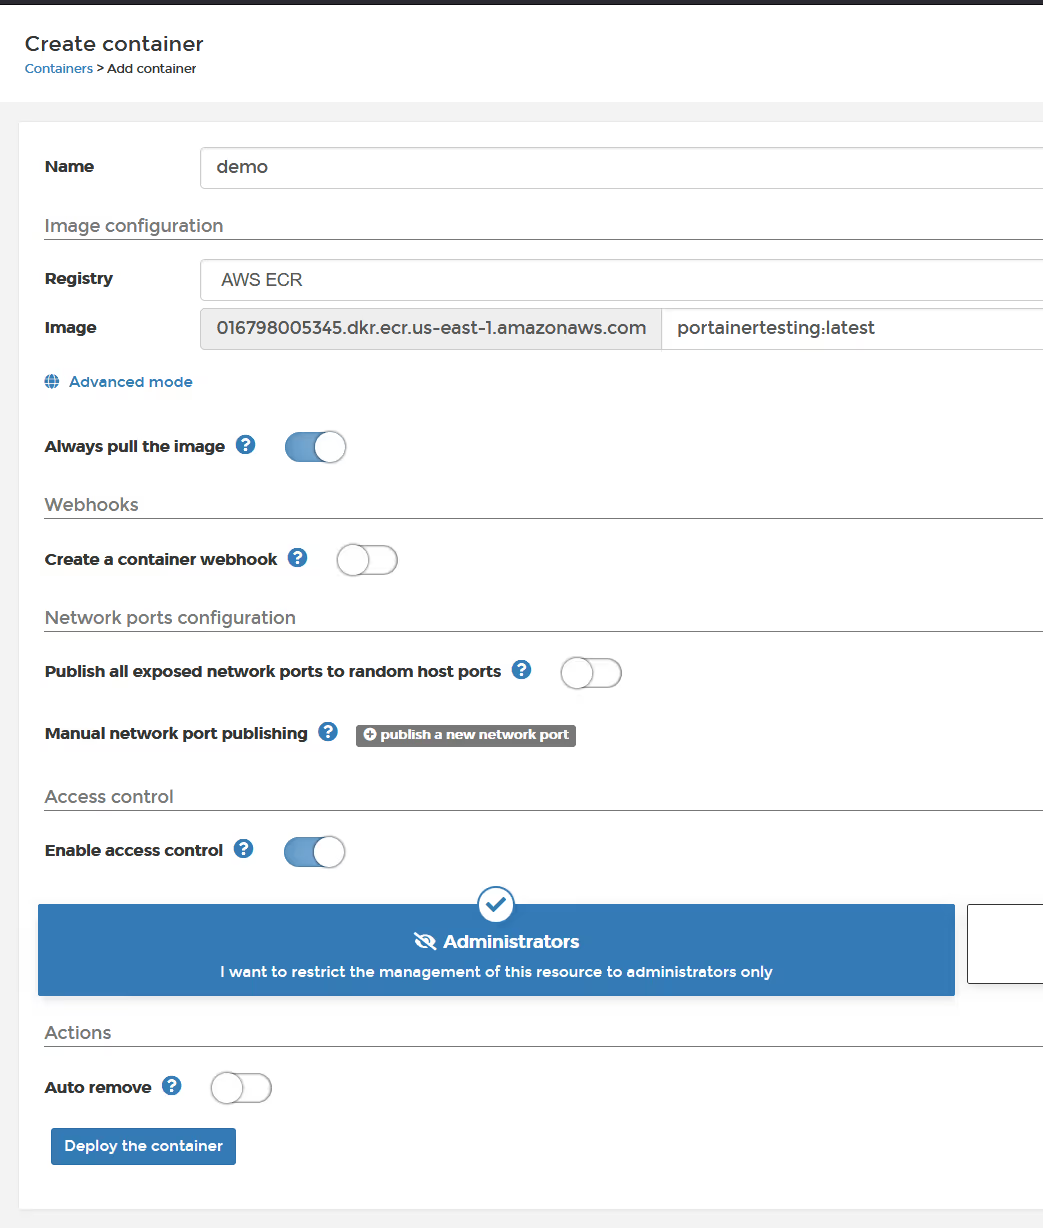
And you will see the container running with the private image from ECR.

To do this in Kubernetes, you can only "use" the images from the ECR registry. In Kubernetes, the "image pull secret" needs to be propagated into each namespace, which Portainer does for you.
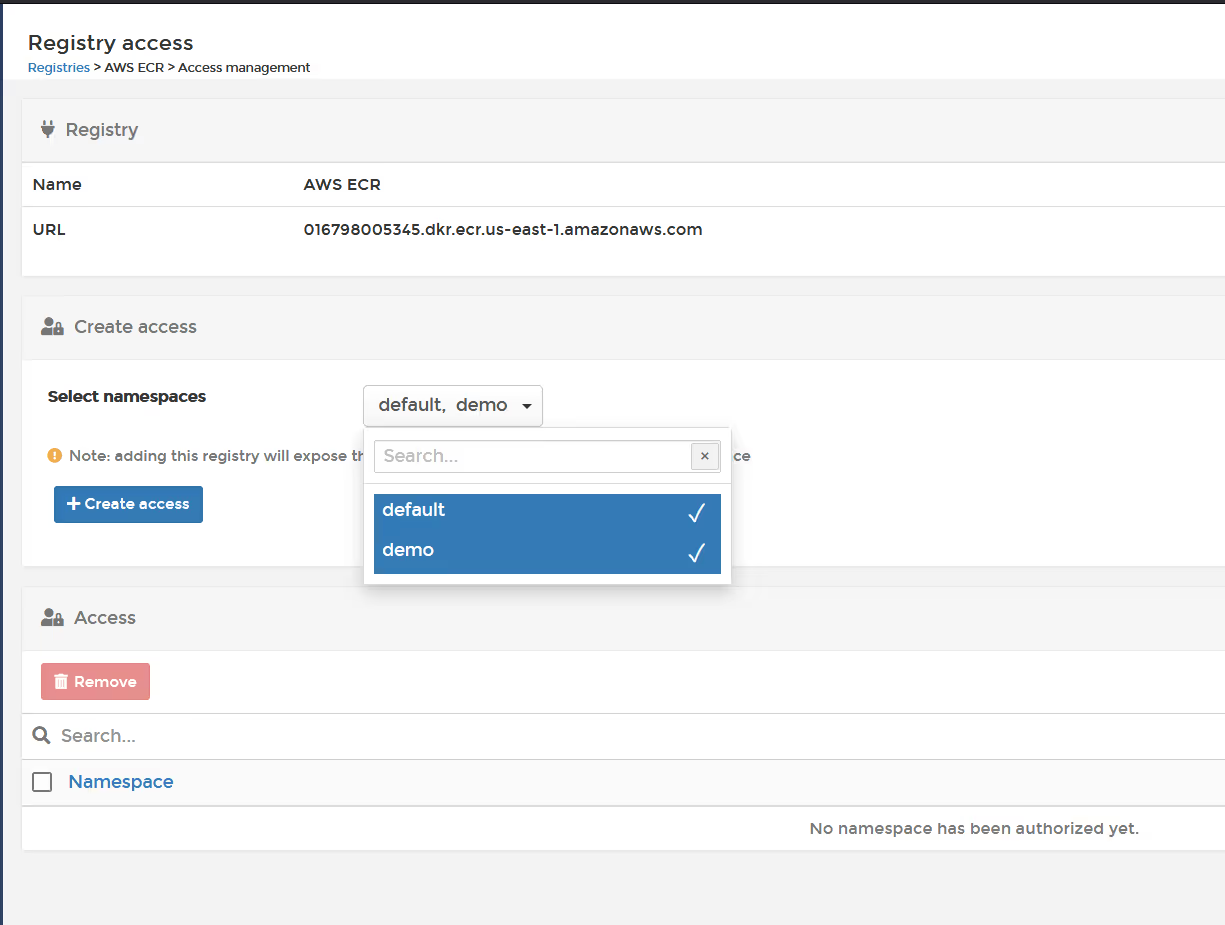
As the admin, in a Kubernetes environment, click on "cluster" and then "registries". Select "manage access" next to the AWS ECR registry you created.

Select the namespace(s) that you wish to create the pull secrets within, then click "create access"
In the left sidebar, click "Applications" and then "Add application using form"
Select the namespace, and then you can select the AWS registry from the drop down list.
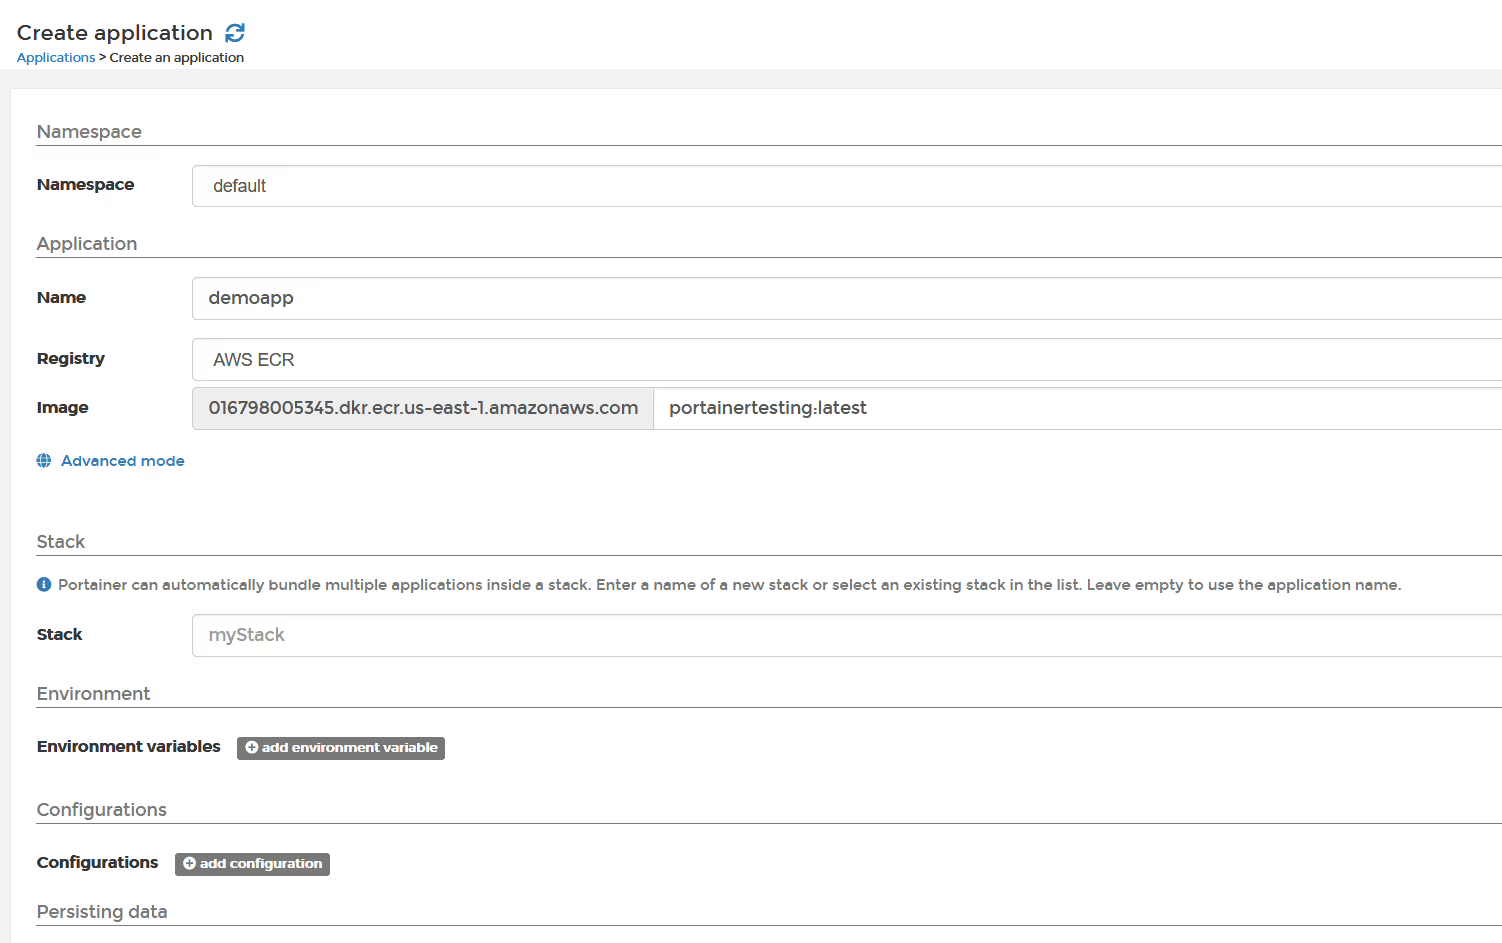
This is how easy it is to use AWS ECR Registry within Portainer.
Give it a try.


